christmas stockings pattern

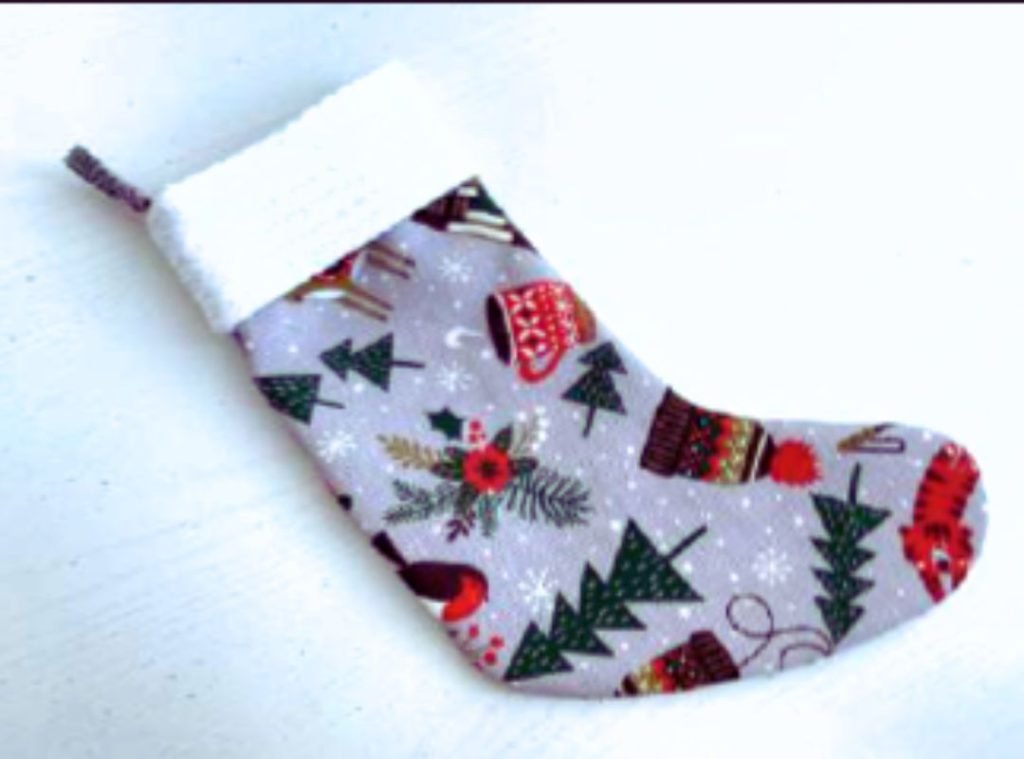
As the holidays approach and homes fill with lights and decorations, one of the most beloved Christmas symbols making its appearance is the colorful and warm Christmas stockings. These stockings are not just ornaments that add a sense of familiarity and warmth to the space, but they are also a magical tradition for both young and old. Who hasn’t woken up on Christmas morning with the excitement to see what Santa Claus has left inside their personal stocking?
In this article, we will present you with step-by-step instructions on how to sew your own Christmas stocking, offering a way to add a personal touch to your holiday decorations. To make things even easier, we are including a pattern in three different sizes, which you can print directly at home. Even beginners in sewing can follow our instructions and create a unique Christmas stocking that will become a cherished tradition for years to come.
So let’s begin this magical journey in creating your own Christmas stocking, bringing love, warmth, and joy of Christmas into your space!
(christmas stocking pattern)
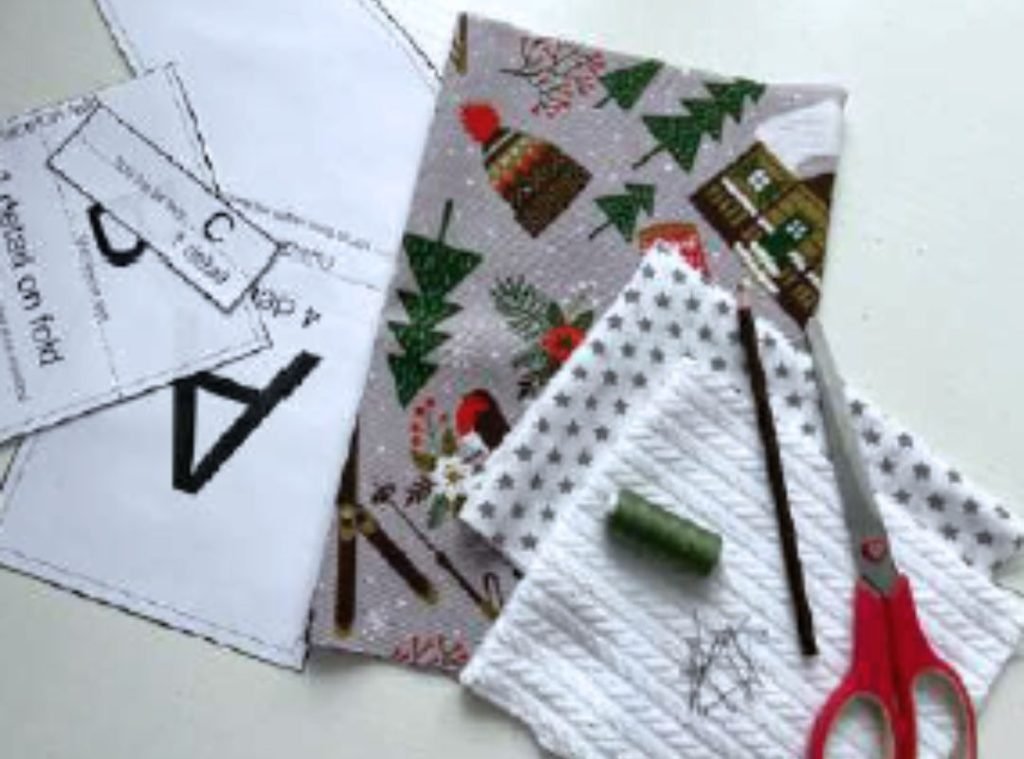
Scissors, Pencil, Pins, Threads, Pattern, Sewing Machine
You will need:
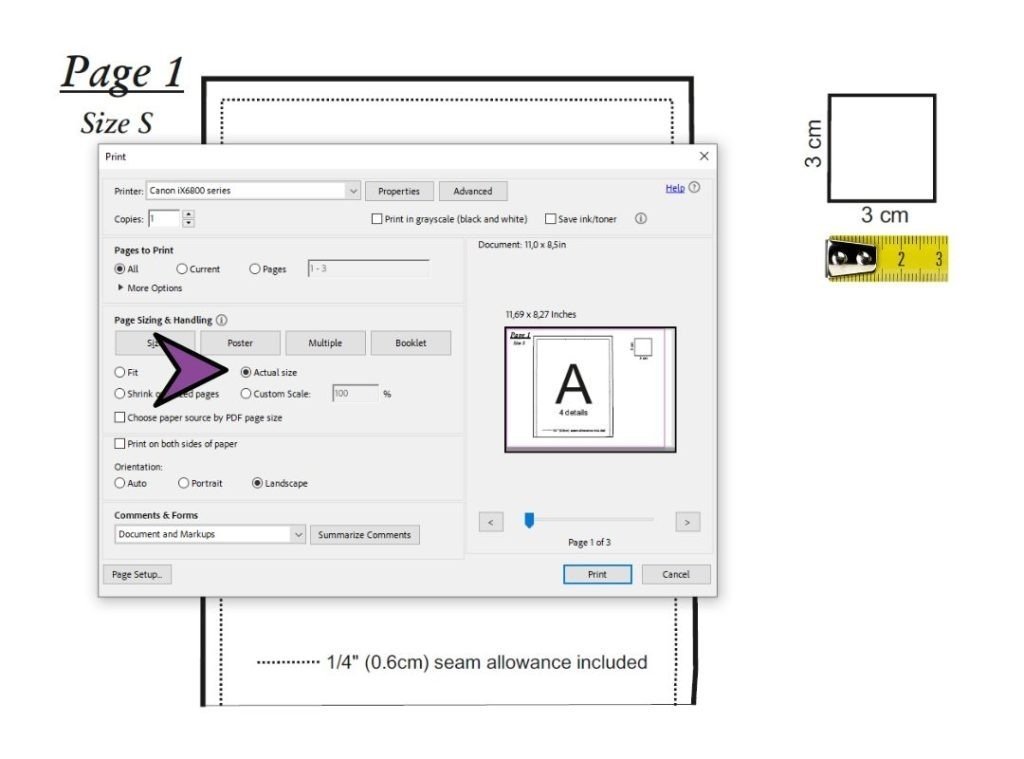
Open the file in the PDF Reader, click on “Print Make sure you print in “Actual Size”, as shown in the screenshot. (Actual Size).
(christmas stocking pattern)


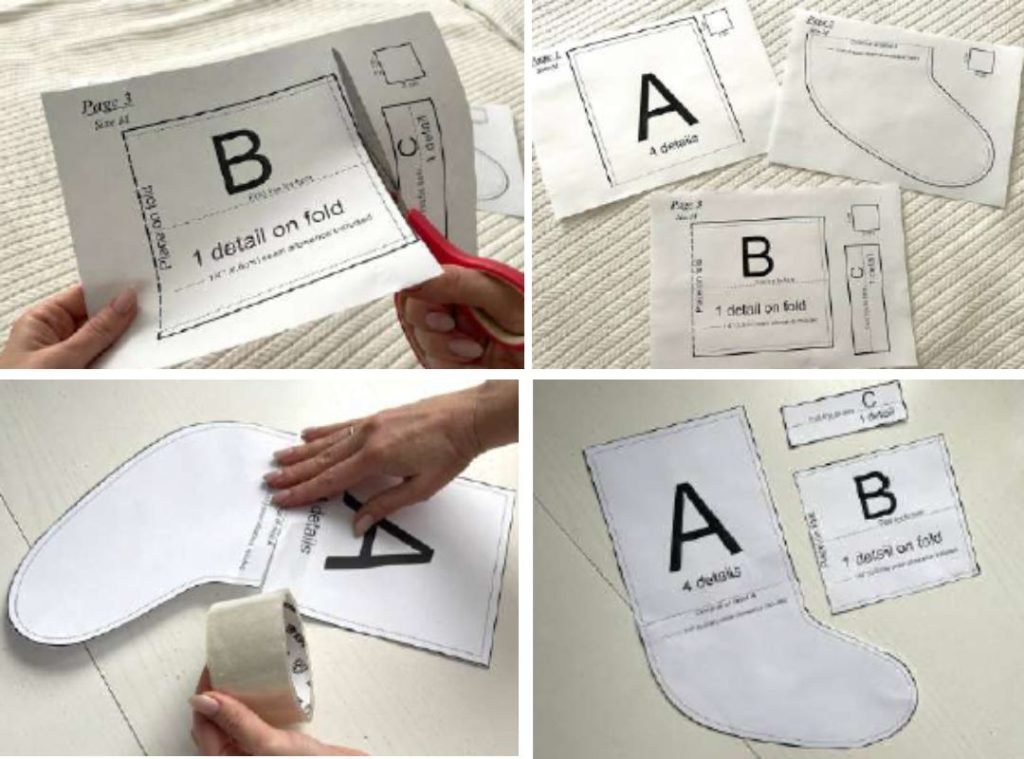
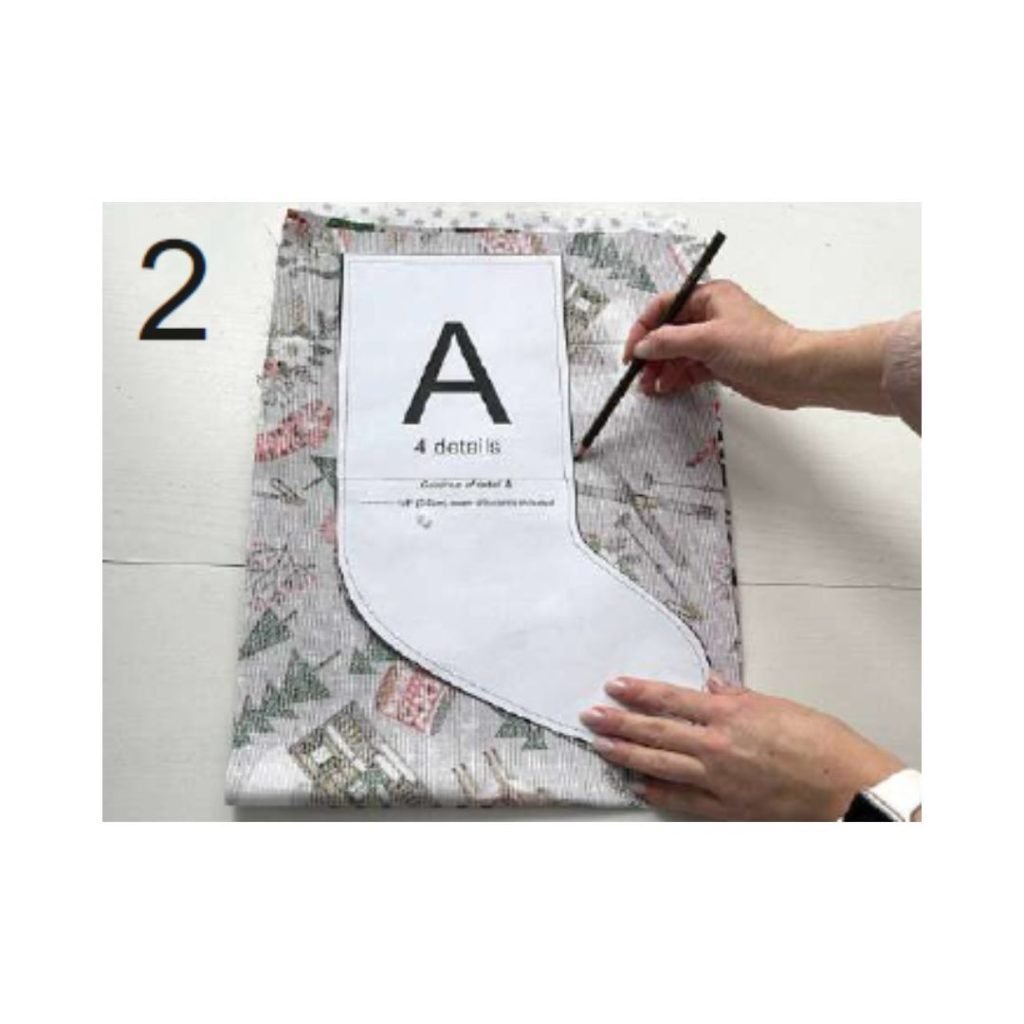
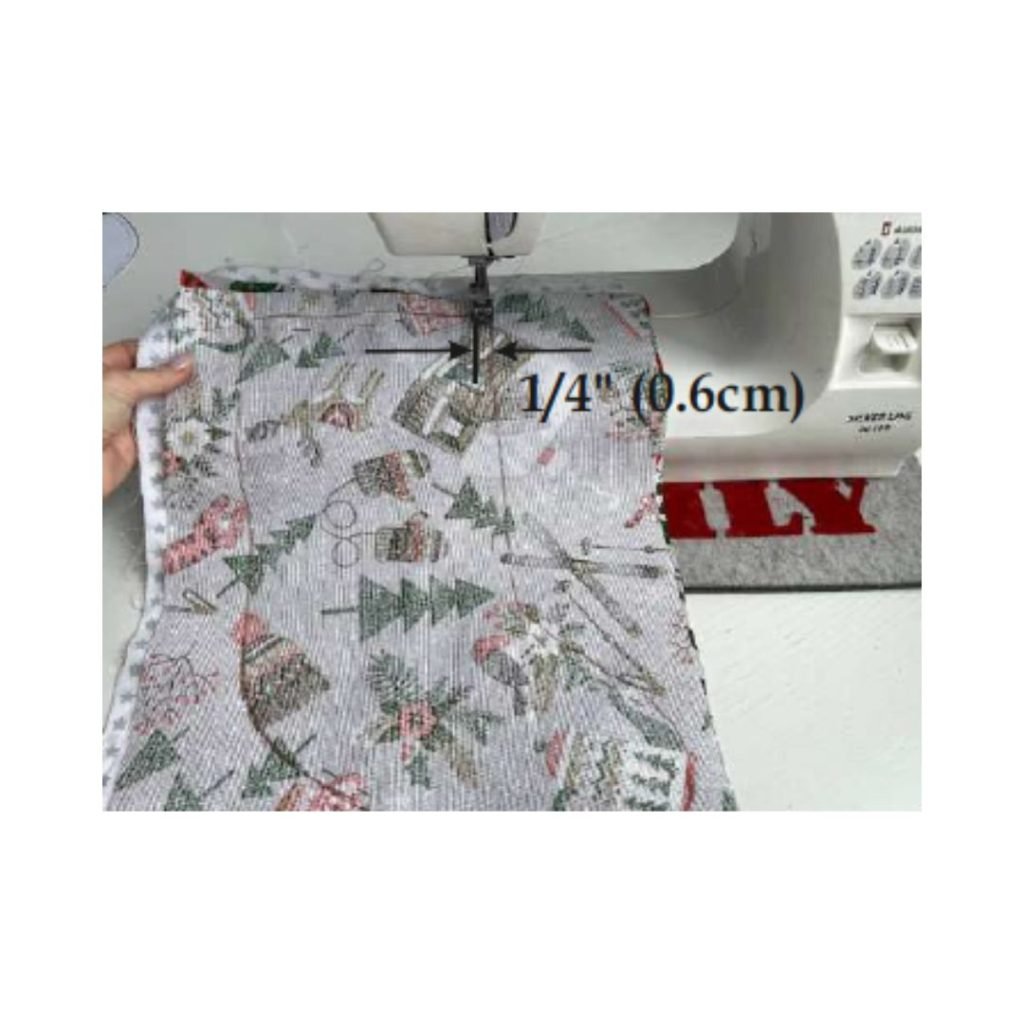
2. Pin the pattern to the fabrics and trace the pattern outline with a fabric pencil.
Remove the pattern by pinning all 4 layers of fabric again to keep them in place.
Then, sew with a straight stitch 0.6 cm away from the outline of the pattern.

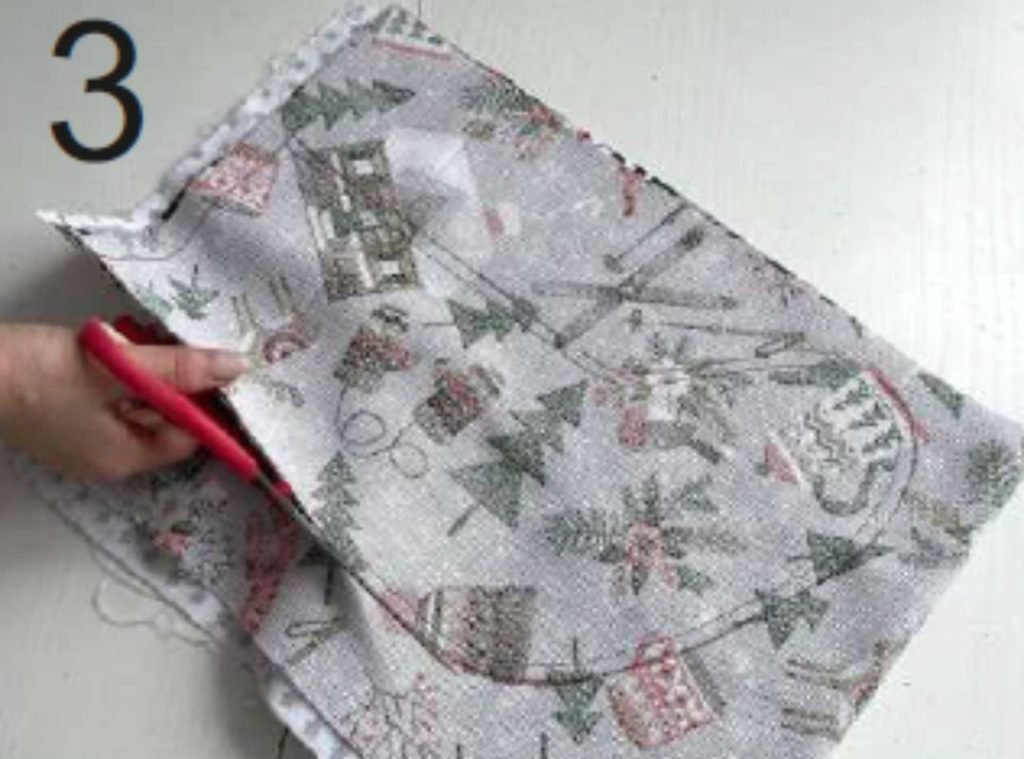
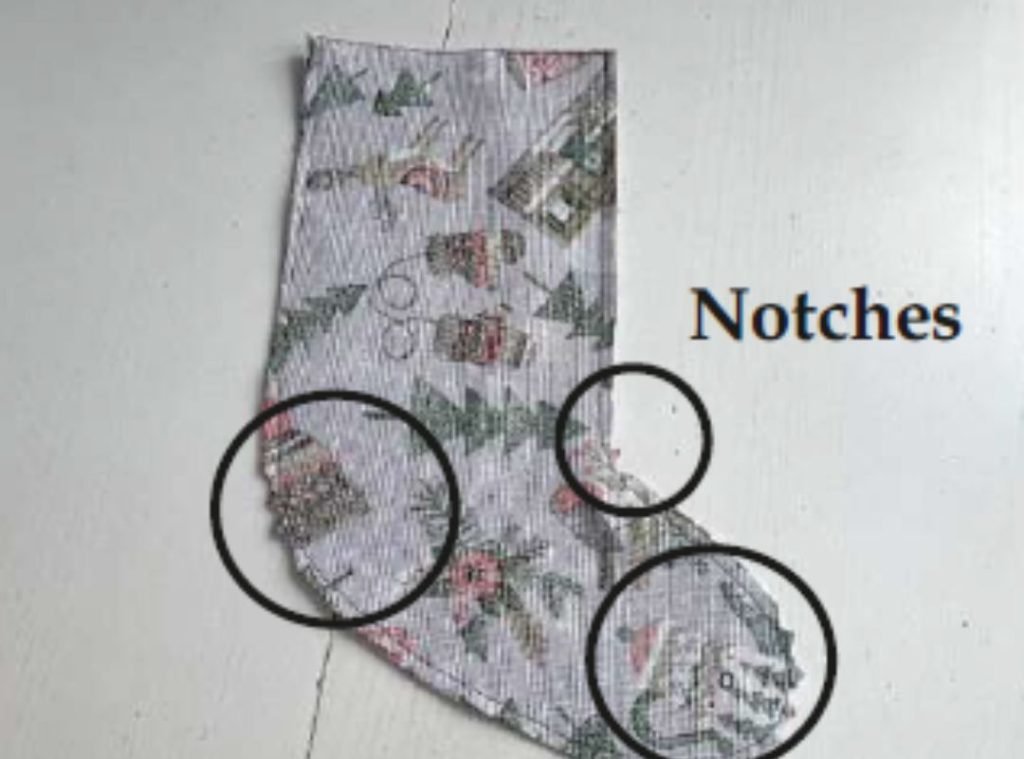
3. Cut along the outline and make notches at the semicircular points as shown in the image.
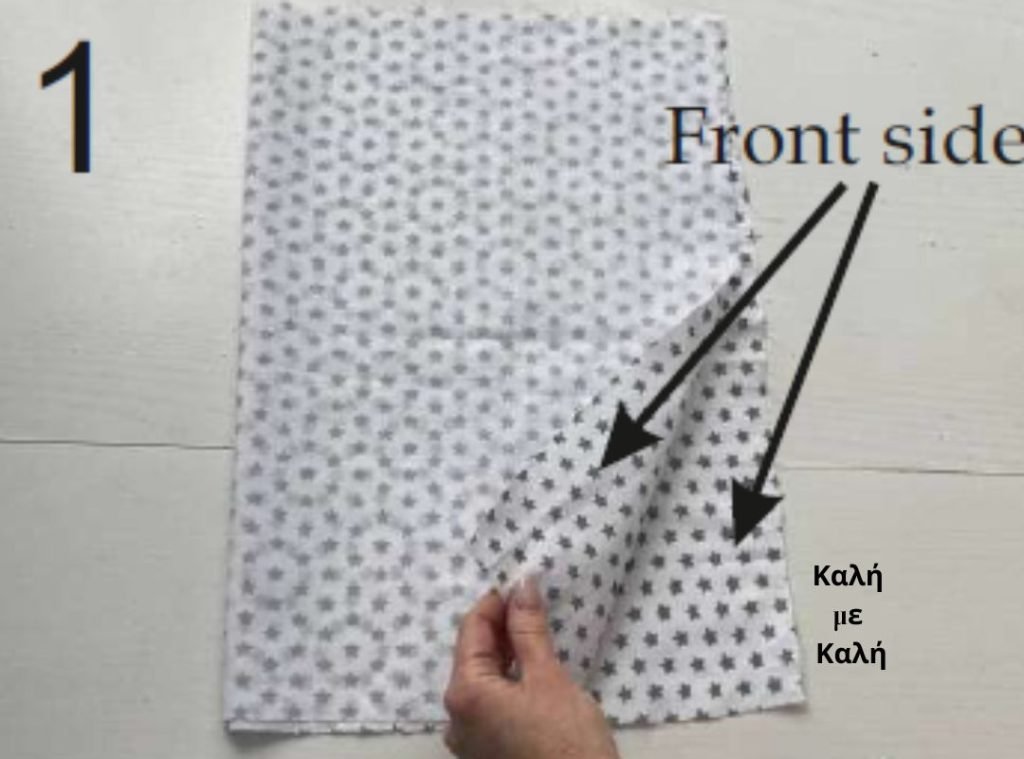
4. Lay the main fabric with the right side face down. Trace around the pattern C and cut along the outline.
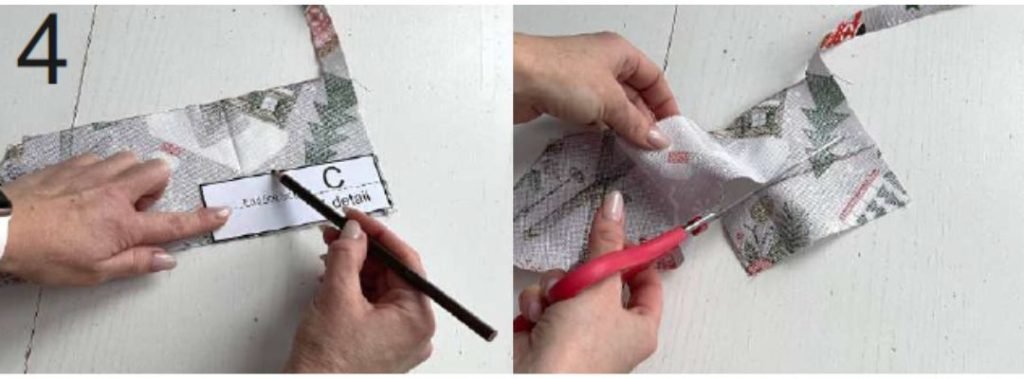
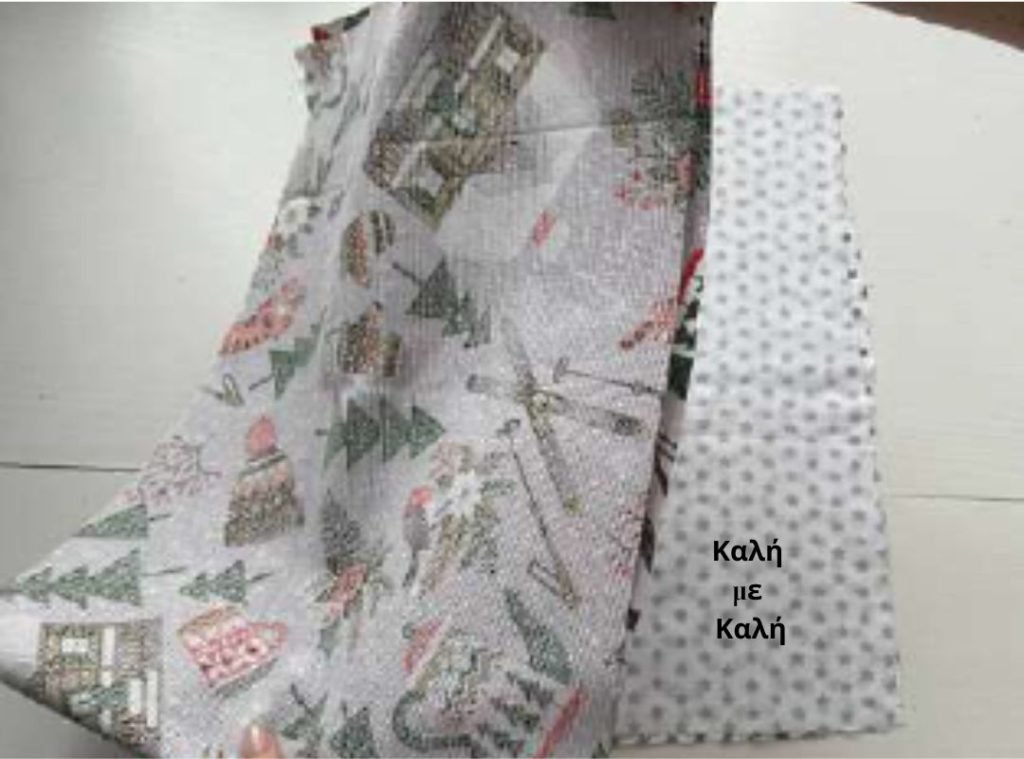
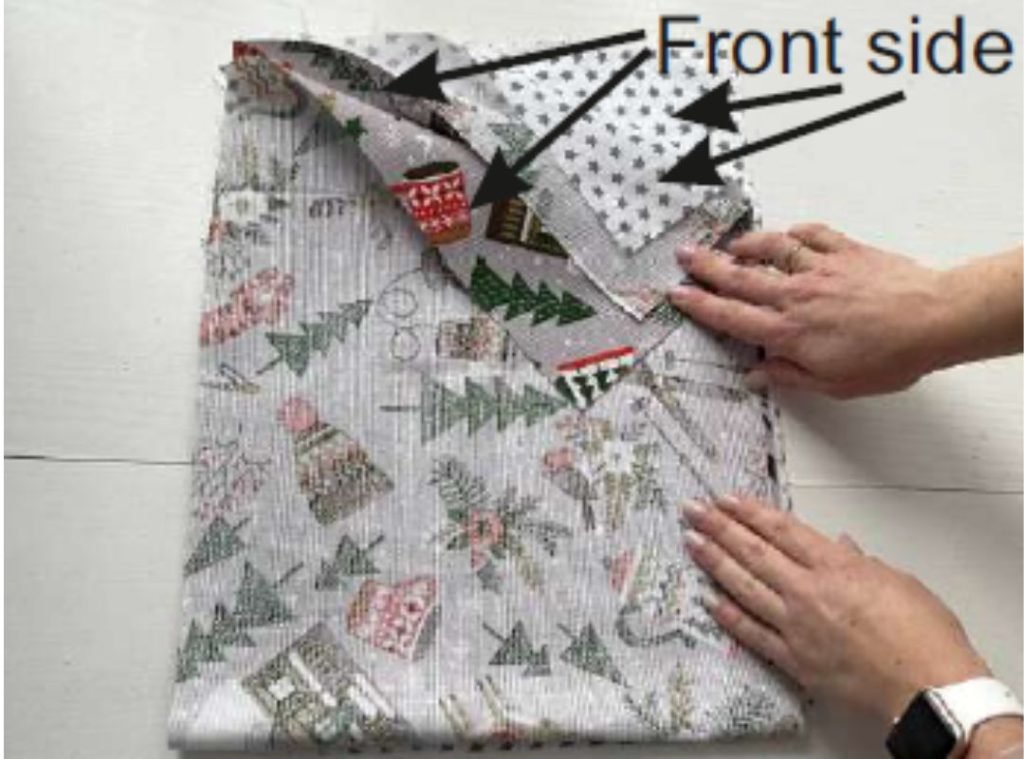
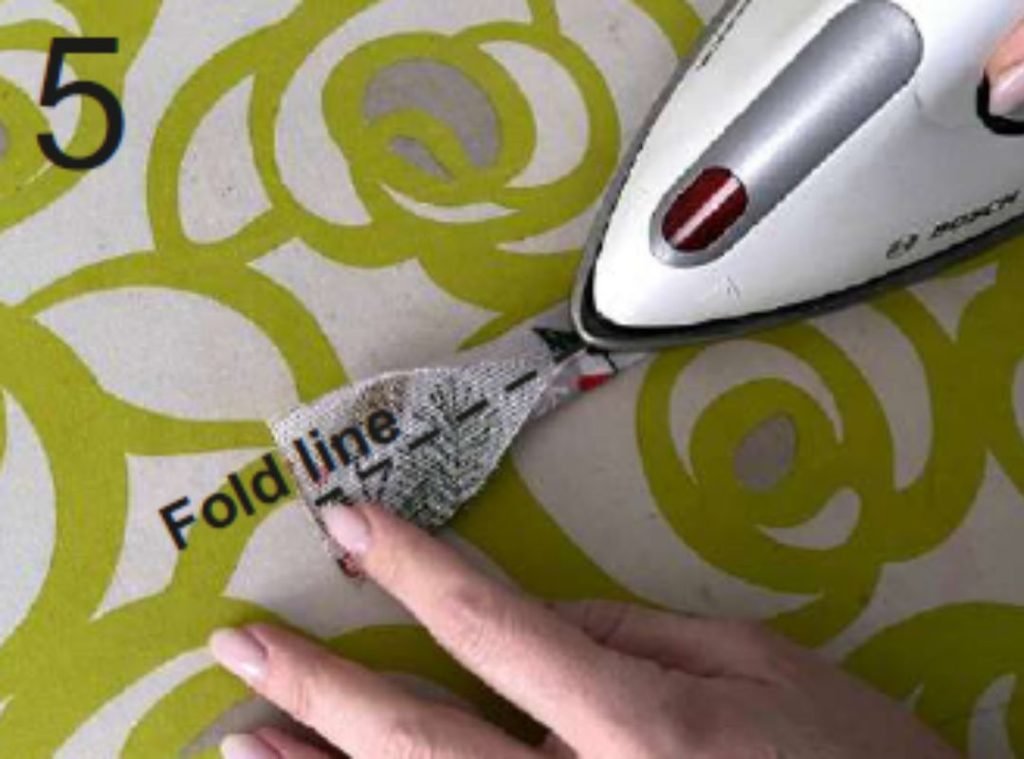
5. Fold part C to the center line (the fold line marked on the pattern). Press with the iron, and then fold as shown in the photo!
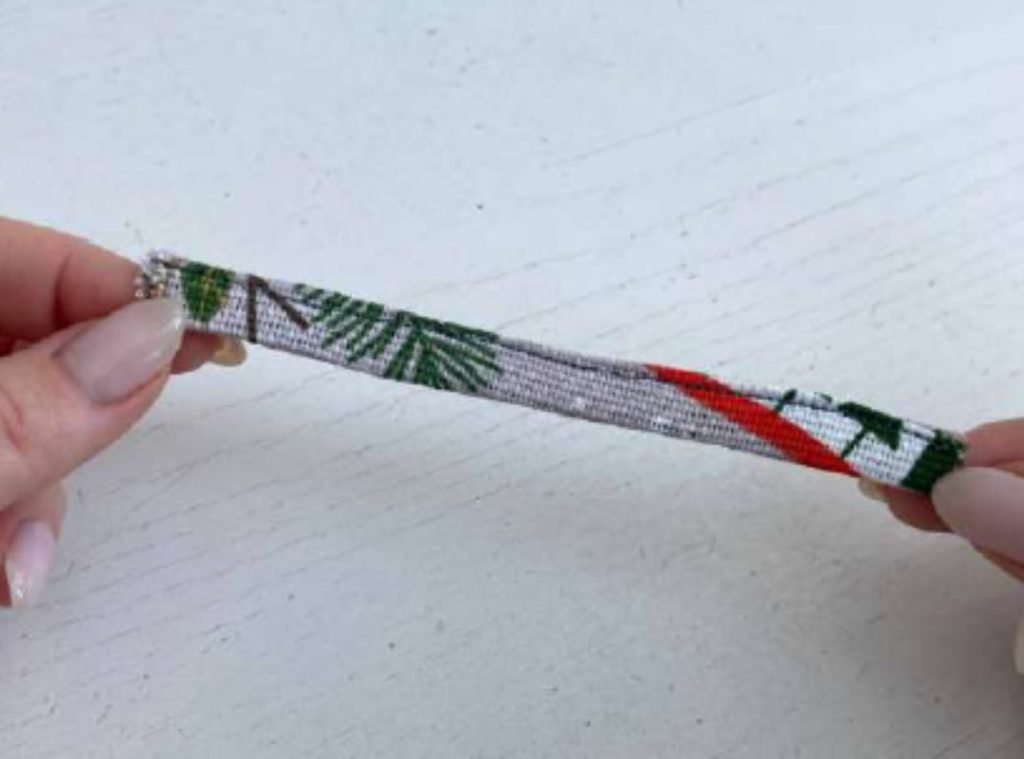
6. Sew a straight stitch to secure it in place.


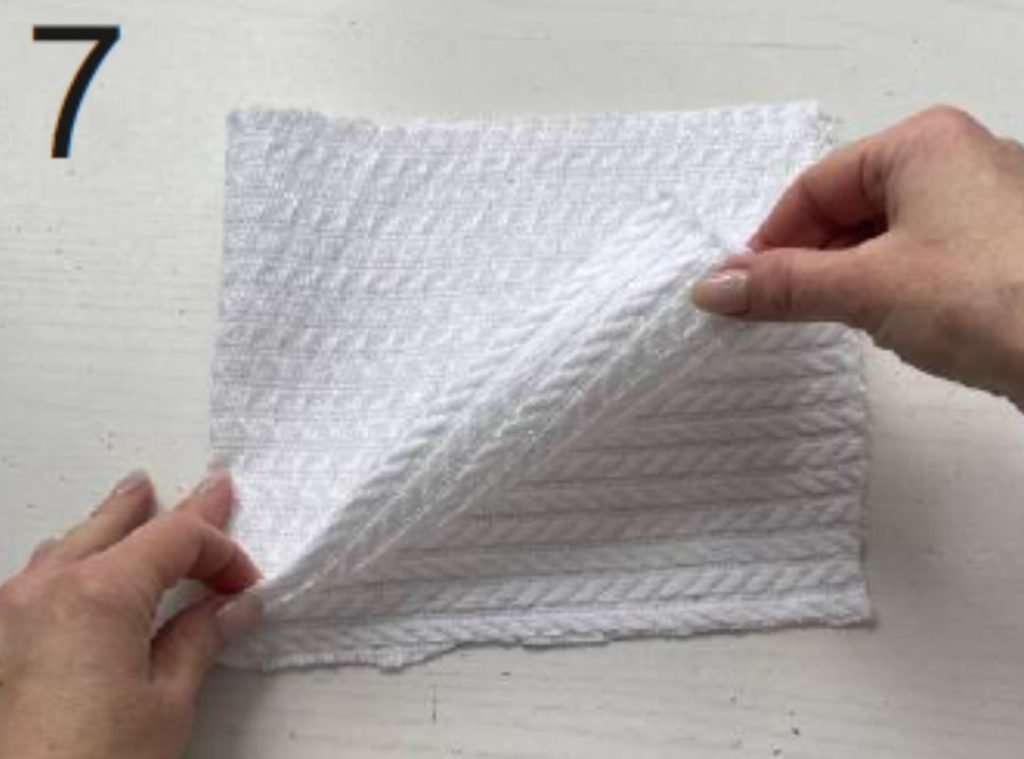
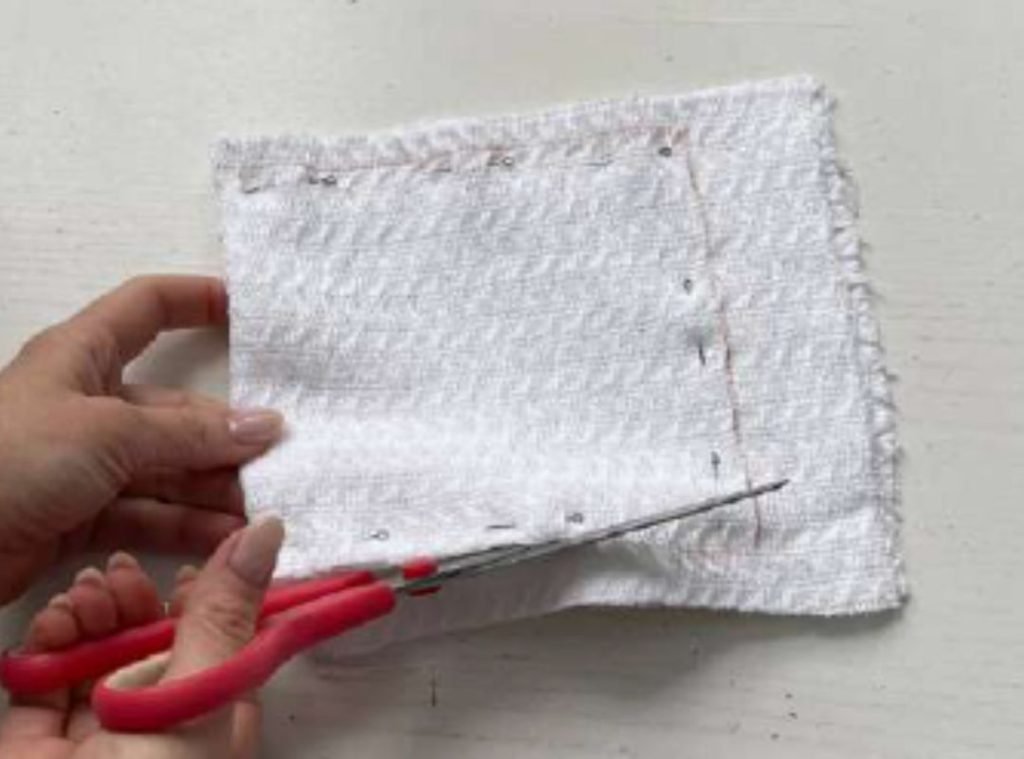
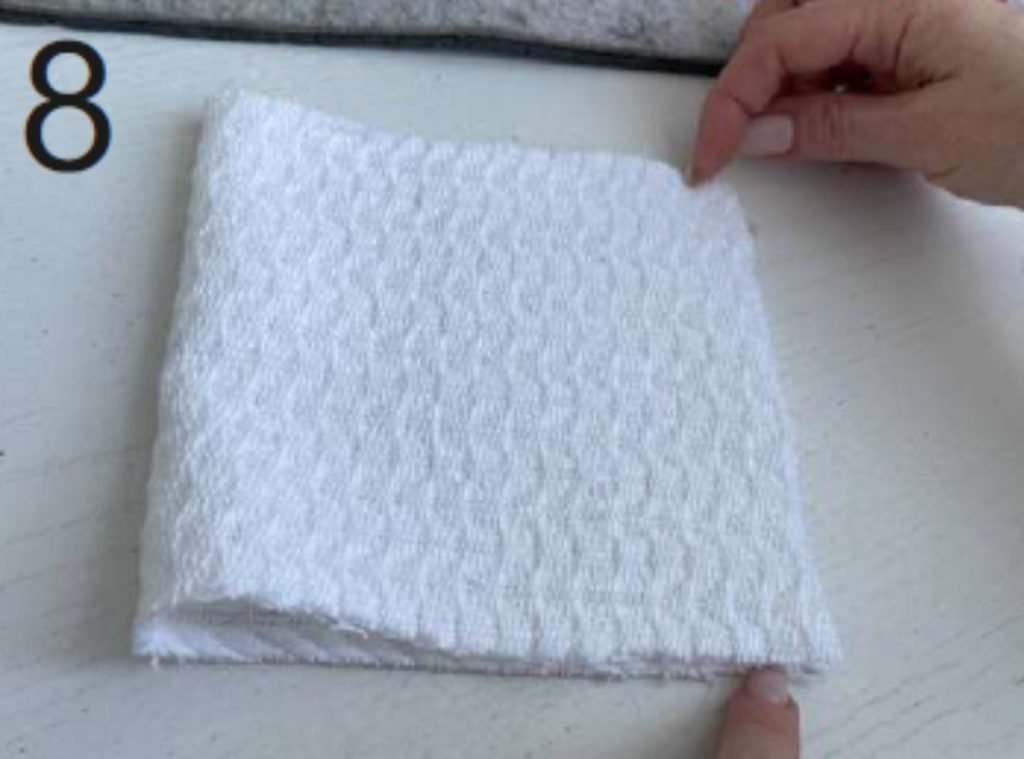
7. Fold the piece of fabric for the lapel in half, right sides inward. Place pattern B on the fabric with pins. Trace the outline with a fabric pencil and cut along the outline.
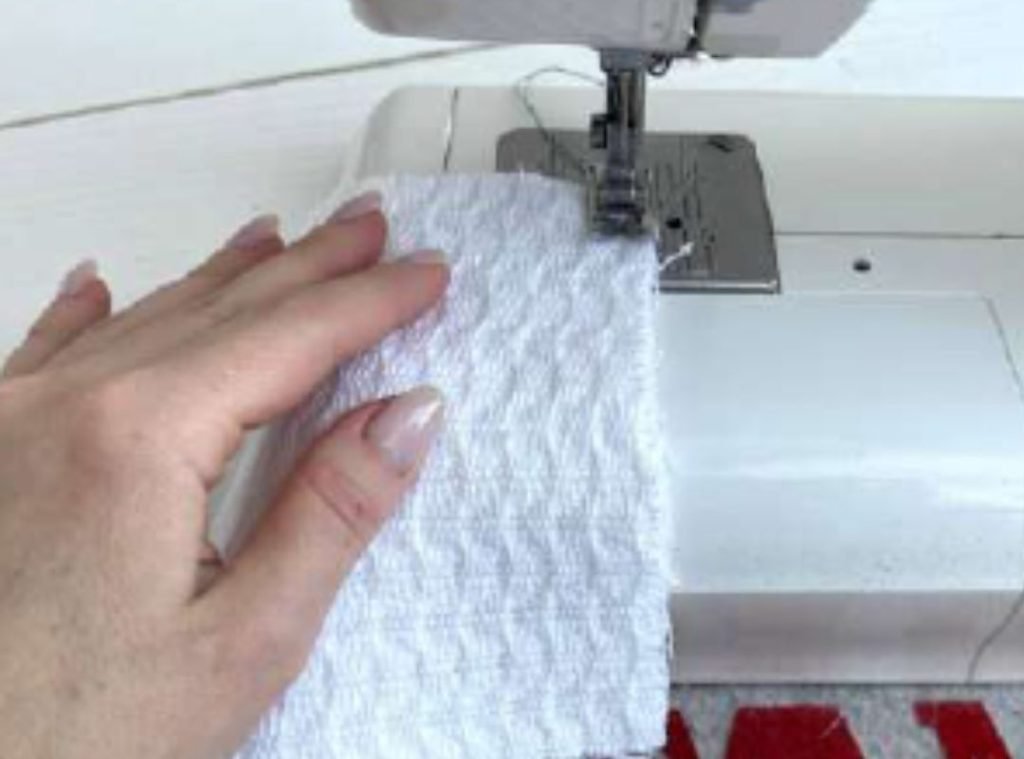
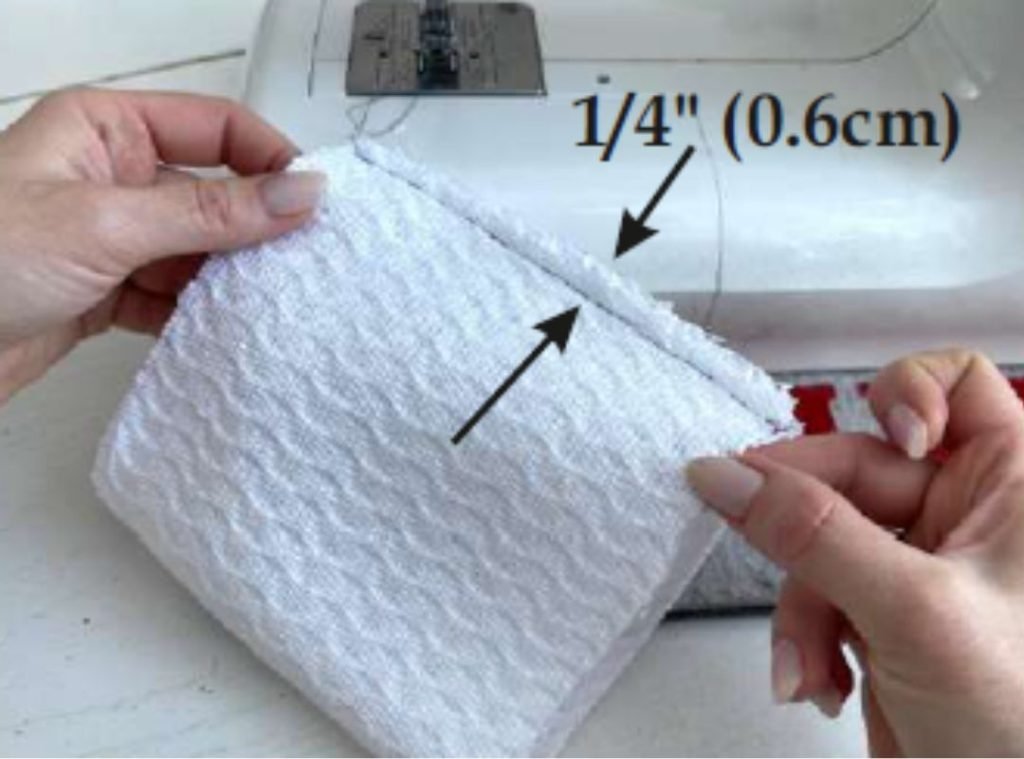
8. Fold the fabric with the good side inward again and secure it with a straight stitch and a 0.6 cm seam allowance.

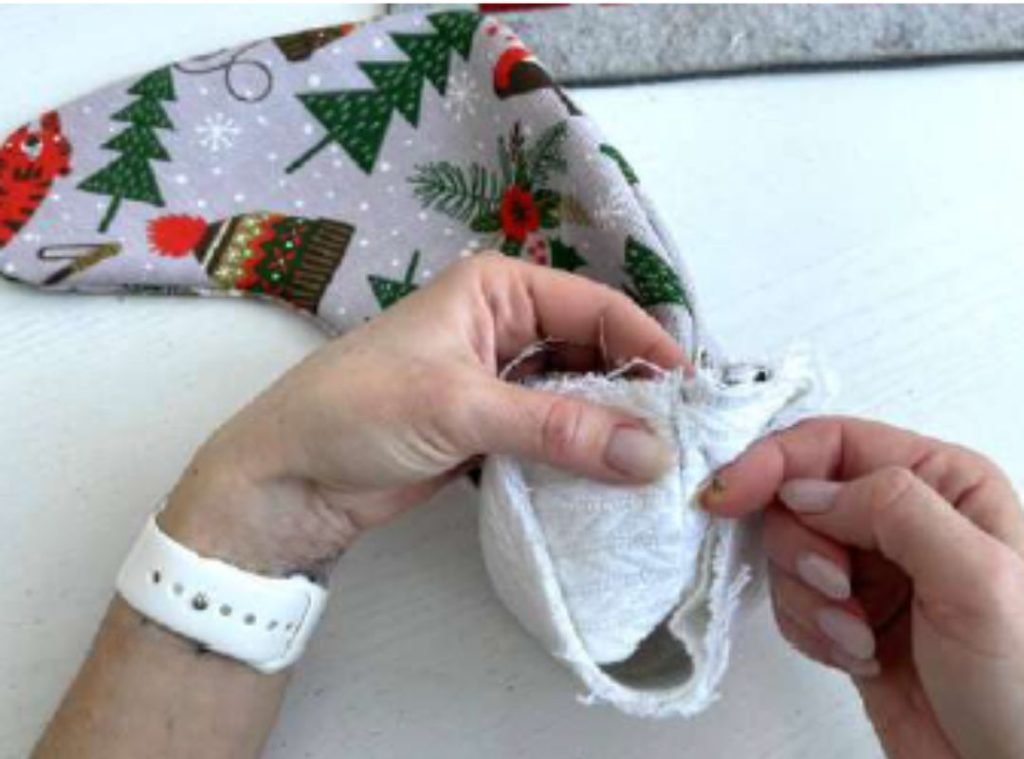
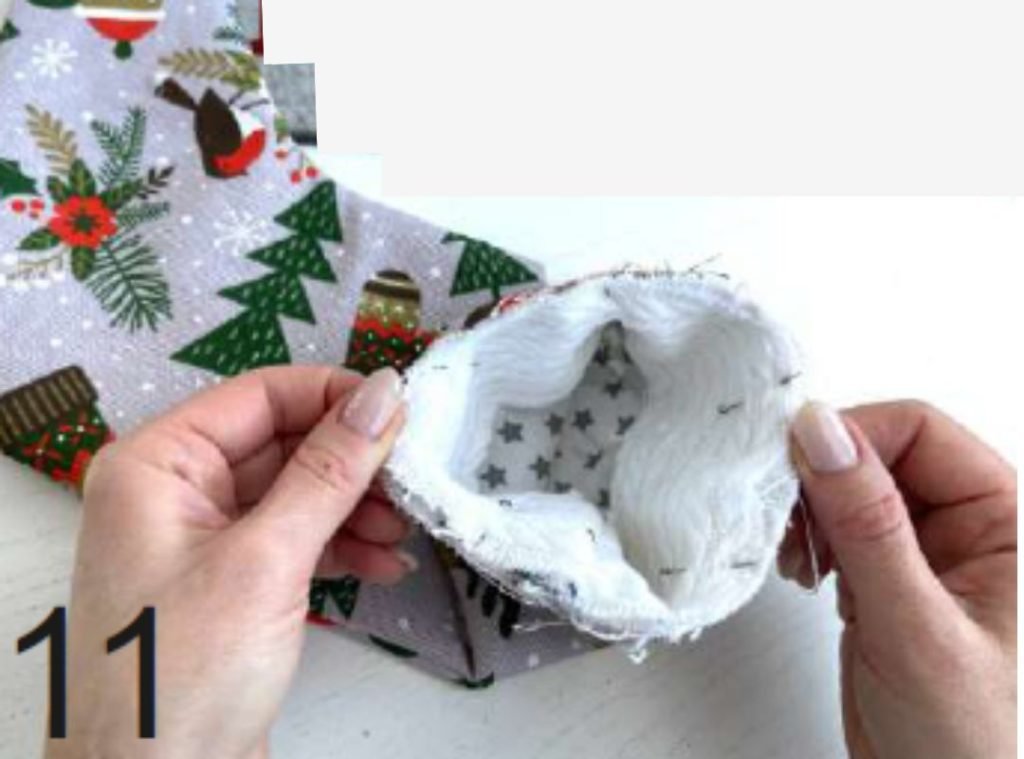
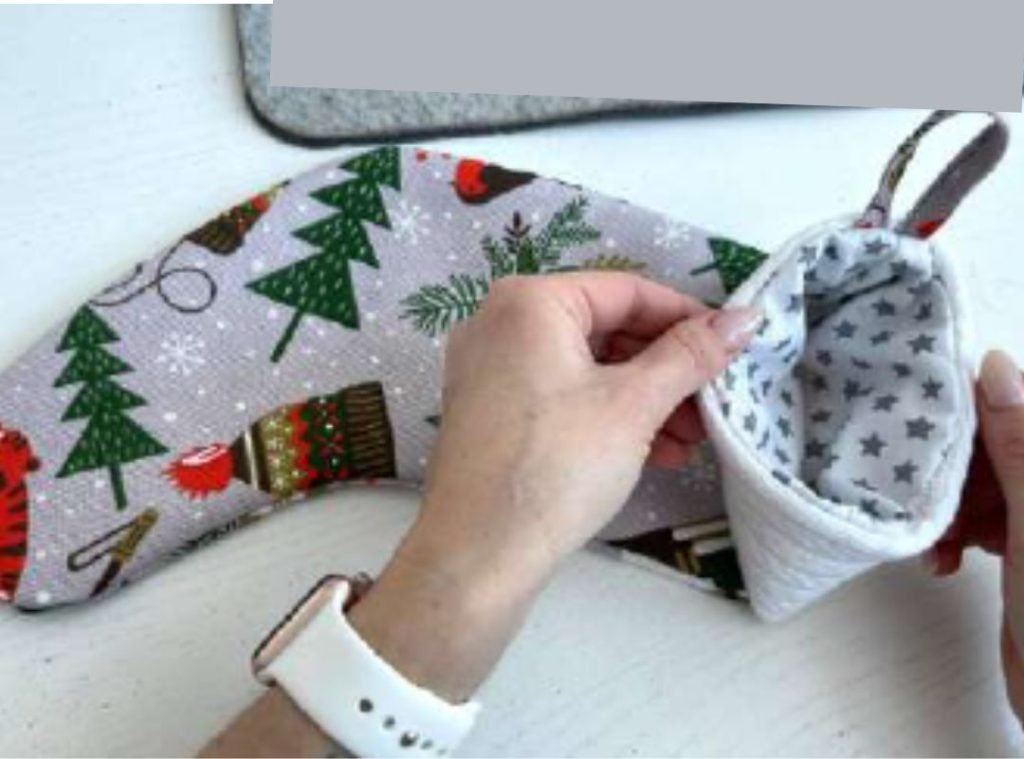
9. Turn the stocking right side out. Pin a loop with pins (as shown in the photo).
10. Turn the right side of the lapel out and fold it in half with the right side facing outward. Attach the stocking to the lapel with pins along the circumference, aligning the seams.


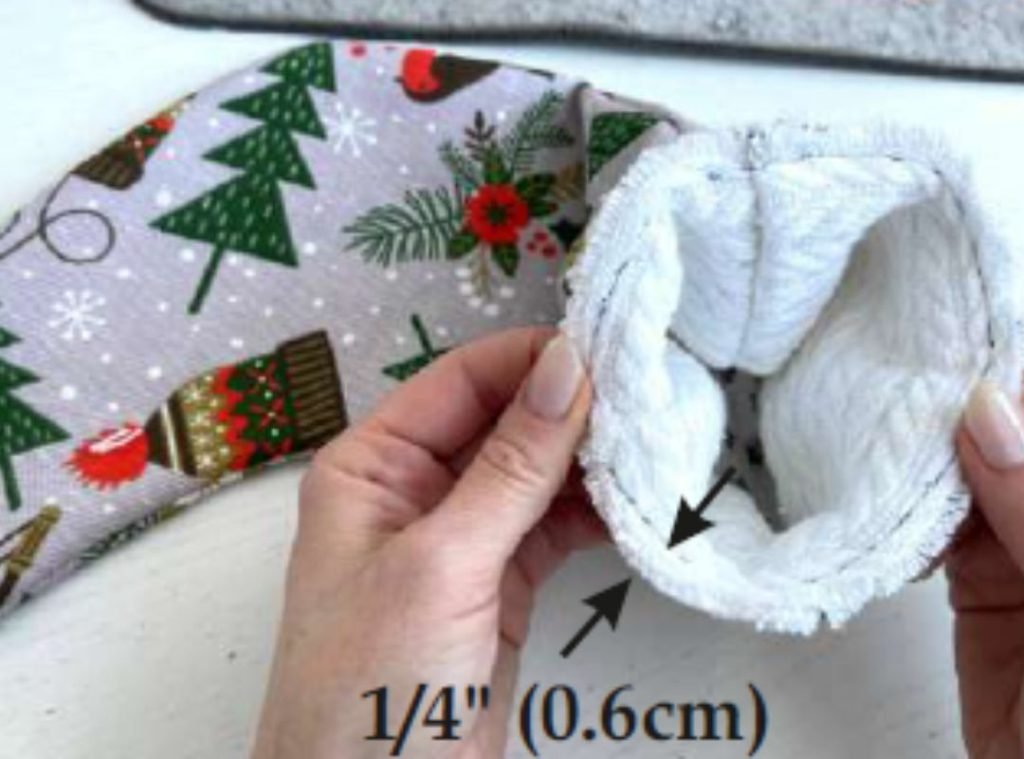
11. Sew all the fabric pieces together with a straight stitch and a 0.6 cm seam allowance.
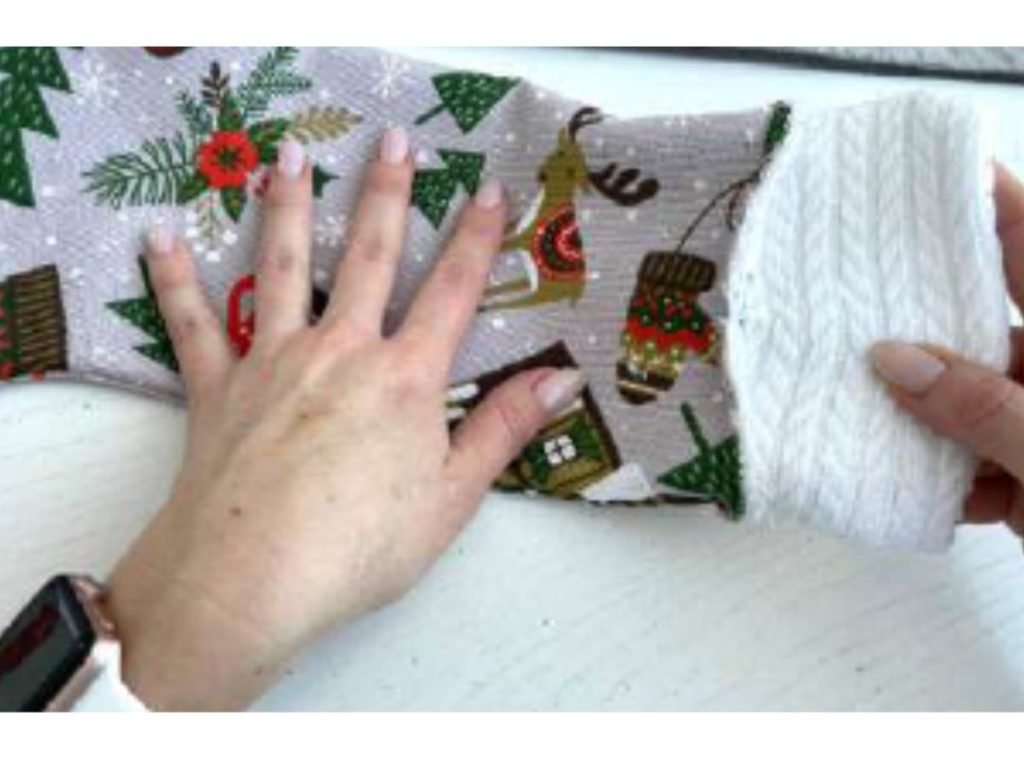
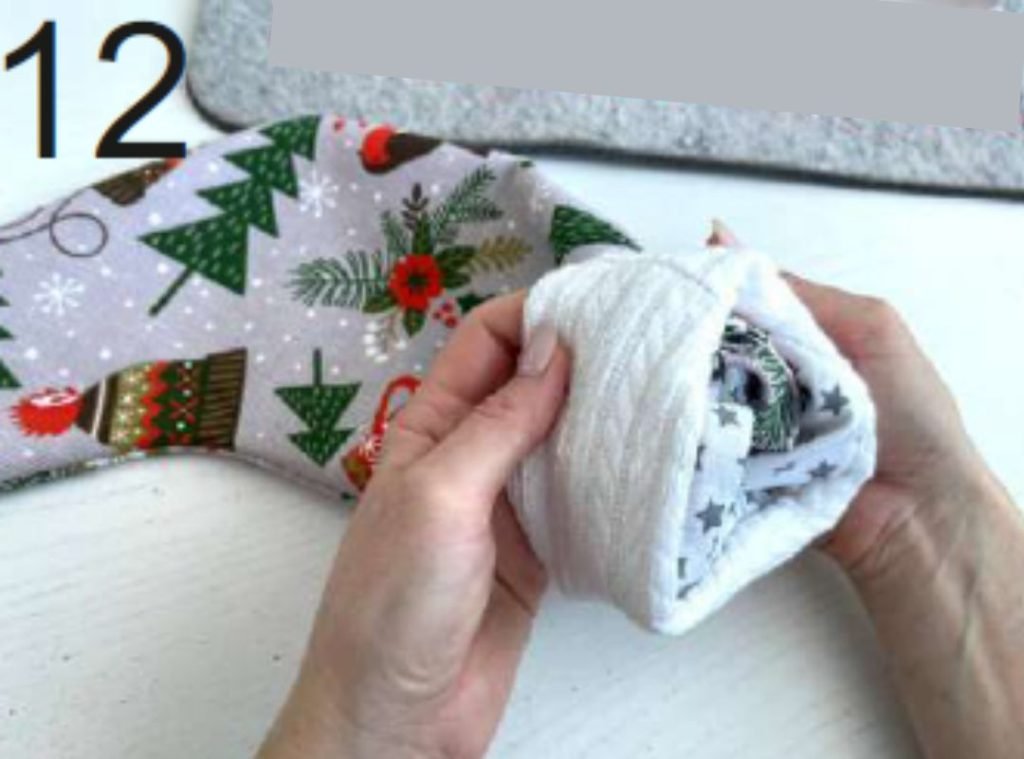
12. Turn the lapel outwards, and you’re done!
CONGRATULATIONS!

And so, the creation of your own Christmas stocking is complete!
With just a few steps, your choice of fabric, and the pattern we provided, you were able to create a beautiful and personal addition to your Christmas decorations.
Whether you chose to hang it by the fireplace or give it as a gift, this stocking will certainly bring the warmth and joy of Christmas to your home.
Don’t forget to get creative with your choice of colors and designs, and customize the Christmas stocking pattern according to your preferences.
Each Christmas stocking you make is unique and carries your personal touch.
We hope you enjoyed this process as much as we enjoyed presenting it to you.
Merry Christmas and happy crafting!
ανεβαστε κατι πασχαλινο αν μπορειτε! ο,τι ανεβαζετε ειναι τελειο!!!!!!!!!!!!!!!

θα τα φτιαξω σιγουρα φετος
Response from Sxedio Modas
Ανεβάστε φωτογραφίες και κάντε μας tag στο instagram 🙏🙏🙏
🙏🙏🙏🙏🙏🙏

Thank you! It turned out an amazing gift for my friends! I wish you all Merry Christmas!

υπεροχηηηηηηηη!!!!!!!!!!!!!!!
Καλά Χριστούγεννα και καλές γιορτές! Μας βάλατε στο Πνεύμα των Εορτών! Το έφτιαξα ήδη! Ευχαριστούμε!

And get a pattern and instructions on how to sew this famous "Japanese Knot Bag"